How to Repair a Wetsuit
Living in the northeast we wear wetsuits, of some sort, about 90% of the time that we go surfing. With all that consistent use we need to repair our wetsuits well (to keep out the cold water) and we need to repair them often. I have seen and heard all kinds of wetsuit issues and malfunctions. There are constantly sharp objects that are trying to put holes in your suit ruining sessions and costing you a lot of money. When Sh#!t like that happens I am here to show you how to fix a hole (or tear) in your wetsuit?
Prep:
First thing you need to do is make sure that your wetsuit has dried out completely. Make sure that you dry out both sides by letting one side dry completely and then turn inside out and let the other side dry completely.
Once completely dry, locate the hole, rip or tear in the suit. Determine if the damage is all the way through the suit or if it is just on one side. We are going to show how to repair if the damage is all the way through.
Follow These Steps for Wetsuit Repair:
- Start with the suit turned inside out and locate the damaged area.
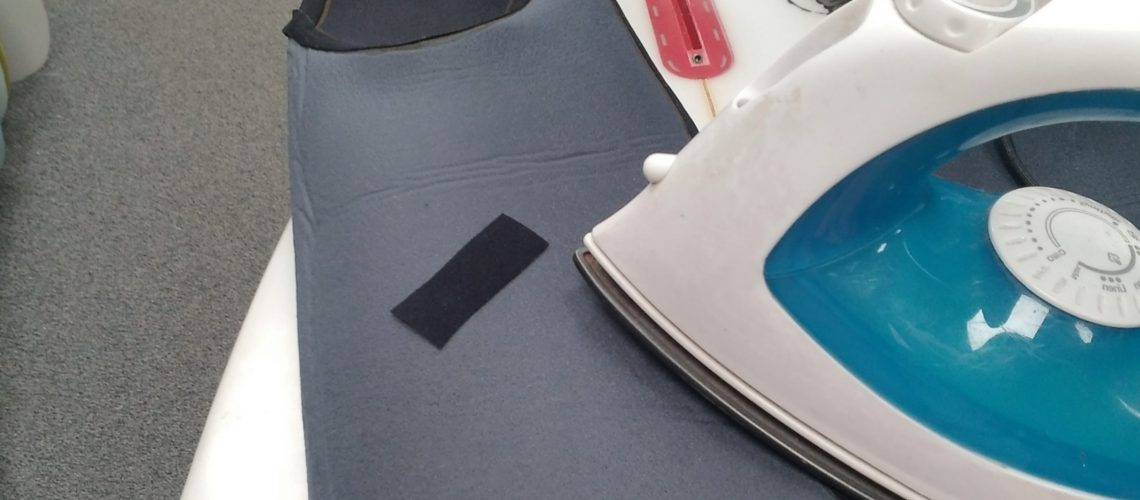
- Cut a piece of the iron on patch to cover over the entire damaged area.
- Next, place your cut patch where it will completely cover the tear. Place the heat paper over the area and with your iron set on low heat apply pressure over the patch. *Adjust heat higher and add more pressure if patch doesn’t adhere to the fabric. **Iron on patch DOES NOT adhere to smoothskin portions of wetsuits.
- Once that is secured, turn the wetsuit right side out and locate the tear.
- After the suit is turned right side out, depending on the tear and thickness of the wetsuit, occasionally I will cut a little into the tear so that I am able to create a bit of a pool for the glue to settle into.
- Next, open the tear and add some of the Neofuze Infinity bond neoprene adhesive. Let the adhesive settle and set for 5 to 10 minutes. (Room temperature will dictate the length of set time). Sometimes it may take 15 to 20 minutes. Have patience as the glue sets to let it get a good bond to the suit.
- Repeat step 6 until the tear is filled and there is some overflow onto the surrounding area of the suit. Gently separate the area to see the elasticity of the adhesive. Also, If you pull too hard the glue could separate if not fully cured. In this case just reapply the adhesive and allow to cure longer.
- Lastly, once the Neofuze Infinity bond adhesive has fully cured, measure out a portion of the iron-on neoprene patch to cover the repair. Follow step 3 above to iron the patch covering the repair. This will add strength to the repair reducing the chance of the repair splitting open again.
Conclusion:
If you follow this system to repair your wetsuit you will eliminate the potential of re-opening the tear. Basically this isn’t a process that you should rush through. Take your time and make sure that you have a good bond on your iron-on sections. Additionally, make sure that the Infinity Bond has fully cured before moving onto the next step. If you follow these guidelines the repair could actually outlast the wetsuit itself.
Some Precautions:
Unfortunately the iron-on patch do not properly adhere to smooth skin portions of wetsuits. Most smoothskin portions of wetsuits include the chest and back panels and hoods of wetsuits that have them. Smoothskin portions of wetsuits help keep wind out of suits. Not all suits have these panels. Additionally you can use Infinity bond adhesive to “glue” a patch to a tear in smoothskin or simply use the Infinity bond adhesive by itself.
If your wetsuit is beyond repair CLICK HERE to find out ways to keep your wetsuit out of landfills by different ways to upcycle and recycle your suit.
We would love to hear some tips you might have for repairs you have performed or if you have any questions please use the comments below. Thanks.


2 thoughts on “How To Repair Your Wetsuit?”
Thanks for your blog, nice to read. Do not stop.
Pingback: How to Upcycle and Recycle a Wetsuit! - neofuze